Tuesday, 8 May 2018

A Post Apocalyptic View

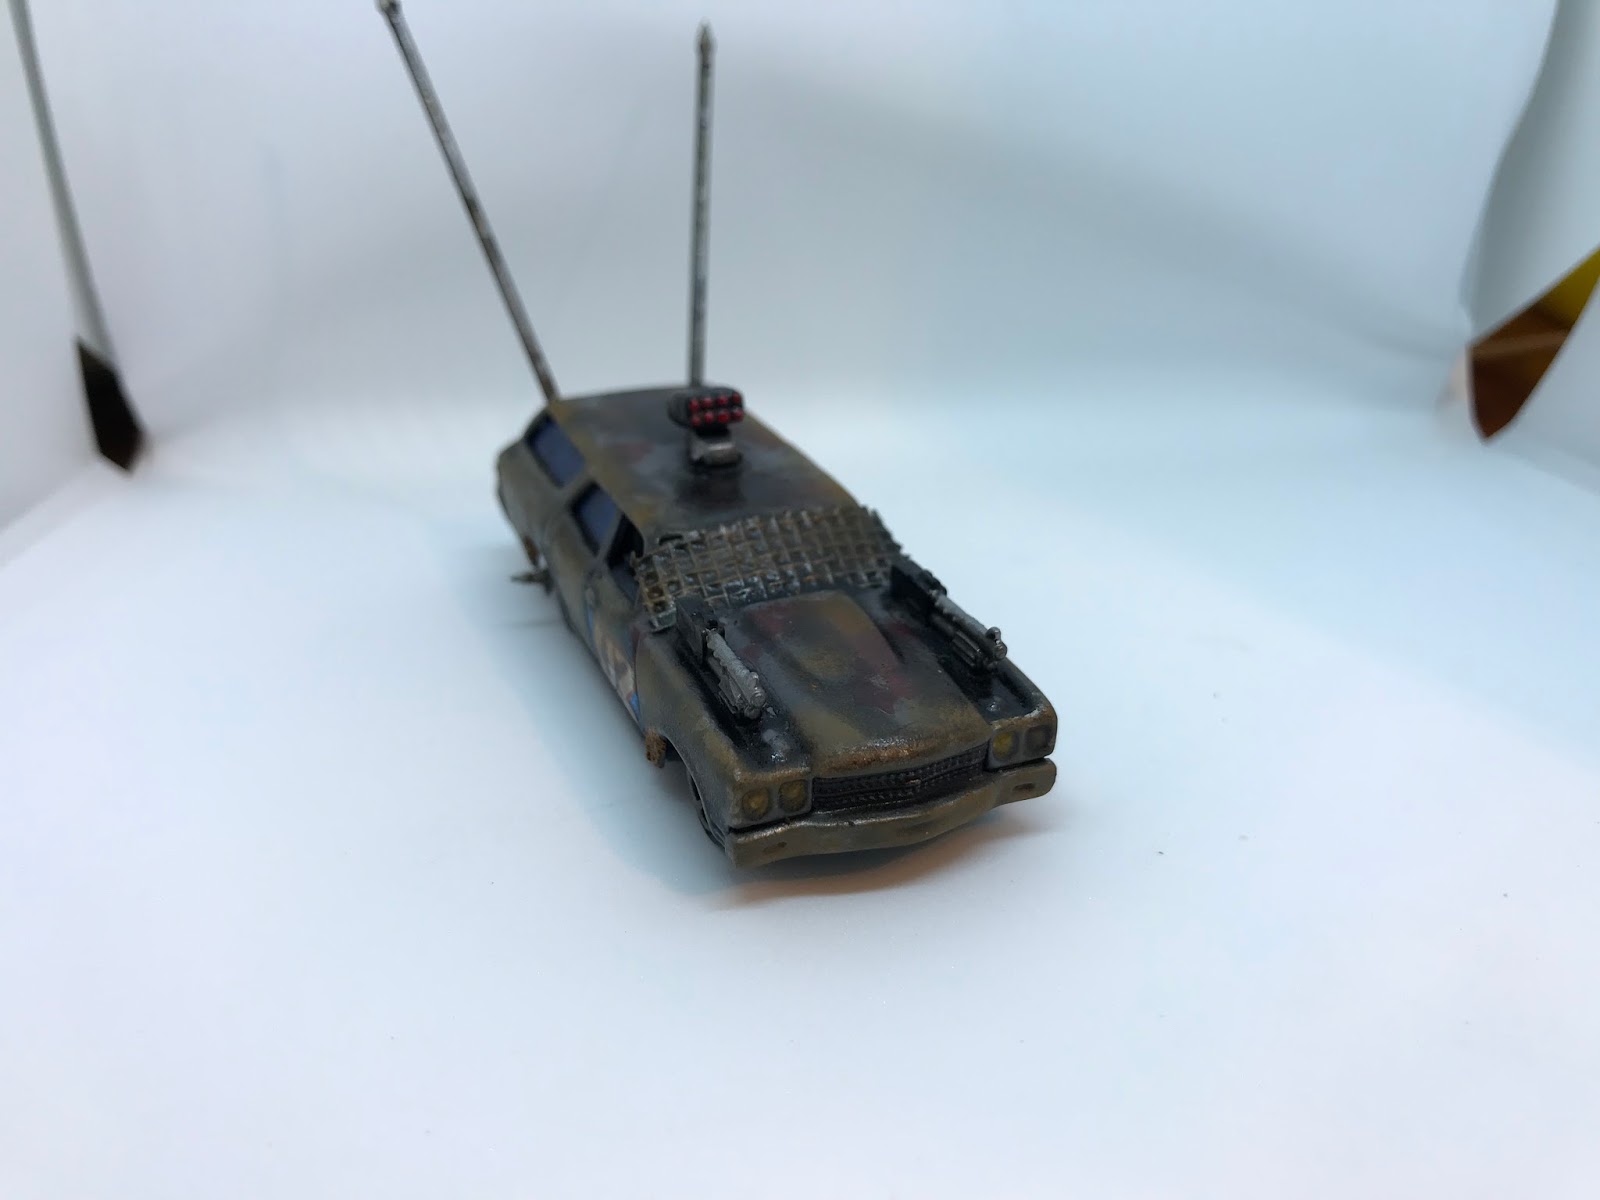
My last few posts have been all about Gaslands, the post-apocalyptic demolition derby where roll cages and machine guns are minimum requirements for entry. It's a fun game, and I've thoroughly enjoyed messing around with some Hot Wheels cars making them look the part (you can see more here and here). Well the nest two cars are done, I have two more to do next, and then I'll be waiting on some bikes from Ramshackle, after which I'll be done (yeah, that's what I tell myself).


Next is a monster truck and a buggy, after that the bikes, and then... well... I need a war-rig right?

As well as getting the cars done I remembered I had some 4x4 boards sitting in my shed for use with Infinity, and after some careful deliberation (it may have been pure impulse), I decided to paint one up all post-apocalyptic. It was pretty straight forward stuff - a large quantity of cheap brown paint and three quarters of a plastic cup of sand mixed together and then rolled onto a 4x4 board of 3mm MDF (yes, I did mix my Imperials and Metrics in the same sentence...).


Ok, so doubtless a big open space is fun if no-one is about and you can let the car go a bit, but this is Gaslands! I need some things for cars to crash into!

From previous terrain building I had some left over pieces of cork-board floor tiles. I broke them up with the idea of making them into heaps of concrete walls etc - nice and tough objects for the cars to bounce off.


Ripped up bits of cork floor tile, glued together using PVA or white glue...


A black spray undercoat...

We don't need no Jersey Barriers in the POST-Future! No! We smash up Jersey Barriers and pile them up to make POST-Jersey Barriers!


After undercoating, I dry-brushed thickly with a blue-gray craft paint, followed by a light gray, and finally a very light dry-brush with white. They're not the best, I should have gone easier on the light gray step to let the darker tone beneath come through a bit more. But they look reasonable, and were quick to do.
The new cars with the new POST-Jersey barriers...

The board, as well as the various vehicles I have finished so far... I think I need some gates...

By the by, the latest episode of my podcast, On Minis Games is up, and in it we review Gaslands! Oh! If you're interested you can find it here, the link to subscribe can be found on the same page, or you can find us in iTunes...


Saturday, 28 April 2018

Burning Rubber...

Gaslands, a game of post-apocalyptic car combat; Mad Max on the table, or Fast and Furious mixed with the Expendables. Cars, buggies and bikes go head to head in all out combat, or death races for ultimate glory. I wrote a review a few posts ago, and last post detailed the first two cars I finished for the game. The next two are now done...

The vehicles so far...
Like pretty much everyone I have seen in the busy Facebook groups, I used Hot Wheels cars for the base, and stuck a variety of weapons and spikes to them to make them more thematically suitable. The weapons I got from left over Heavy Gear sprues, and the spikes and other things from a number of FireForge medieval sprues I had left over. The mesh on the windscreen is an adhesive fly-wire patch cut to size.

This post is about the left-most car in this image...

And left-most buggy in this image...
For some reason I thought it would be a good idea to spray all the cars I worked on what was supposed to be a 'rust' colour, but which in the end turned out to be a glossy sort of maroon instead. I had to spray them all again lightly with a flat varnish so other paint would adhere. Then I tried the salt chipping technique to create patchy paintwork with a patina of rust, but this really just created patchy paint. For the last ones I found the water was pooling on the gloss, so this time I added some water, watched it pool, added salt, and pressed down on the salt lump to create a larger, flatter, and messier area, which was more the effect I was after in the first place.


Once the salt had been added I sprayed on a top-coat of blue. Every two vehicles I do will be different core colours, the teams will look rather patchwork as a result, which is the aim. Once the spray dried I used a toothbrush to remove the salt, revealing the maroon beneath. Again, the spray is glossy, so another light coat of flat varnish was due. I then painted all the various other colours, black for the weapon casings and tires, metal for the rims, screens and engines, light blue for the buggy windscreen, white for the skull motif, etc. Then I coated both liberally with Army Painter dark tone, which is essentially a black wash with an enamel finish.

I really laid on the wash. This was in part to smooth and blur the colour transitions and give them a dirty look, but also to dull down the gloss.
Once this was dry I started weathering. I added metal scars across the surface on the edges particularly, went over patches with a light brown wash, dribbling it down the sides to look like rust, and highlighted the engines, windows and weapons with a lighter metal tone dry-brushed on. Once this was done I turned to my Tamiya weathering powders, and used a Vallejo texture paint for mud around the wheels, before giving them a final flat varnish.


So that's the next two done. All in all these are really quick to paint. A couple of sprays, some small patches of different colour, a heavy wash, some highlighting and then the weathering powder. I think they look pretty neat, and should be good fun to get to the table. I am thinking about making a board a some point as well, we shall see...


Thursday, 26 April 2018

Gaslands! Assemble the Team...

Gaslands is a post-apocalyptic game of vehicular carnage, with teams of cars, monster trucks, buggies, bikes and a host of other vehicles duking it out for supremacy. I wrote about it earlier this month here, I talk about it in an upcoming episode of the On Minis Games podcast, and have otherwise been thoroughly enjoying the game.

While the games played so far have used cars raided from my son's toy collection, I thought it was high time to add some guns and whatnot to the mix. Being a responsible fellow, I decided the best and safest path was not to start smashing up my son's toys, so I bought a few sets of Hot Wheels cars from a local shop under the clever guise of buying them for my son. I need to pause here and say that for anyone interested in Gaslands, the Gaslands twitter account, and Gaslands Facebook page are both a wonderful source of inspiration, and well worth checking out if you're interested in the game...

The first games played were with simple Hot Wheels borrowed from my son...
Cars in tow I cast about for some suitable weaponry to add character to these supposedly post-apocalyptic agents of destruction. I lighted on two solutions, both left overs of various other projects. One was a set of sprues left over from Heavy Gear, a ready source of suitable weaponry. The other was a set of sprues left over from assembling a bunch of Fireforge Games medieval knights and whatnot. Good spiky bits that the average post-apocalyptic citizen would deem the height of fashion. Having found a ready supply of bits, I set to work work...


A rather visually pleasing mix of vehicles now suitably upcycled into the nouveau post-apocalyptic style, with appropriate wheel spikes, point bits and guns. I should add I also scuffed the cars with some sand-paper in order that the paint applied might adhere better. I also used a fly-wire repair kit to add mesh to the windscreens. In the the collapsing future, glass is hard to obtain. Many players go the full hog at this point, drilling the cars apart and stripping them down the metal, using a dremel to achieve all manner of goodness. I took the lazy route.

An 'Indian Red' first coat. Thick and glossy, if I had my time again I'd buy a different type of rattle can.


I decided it would be rather fun to attempt the salt chipping technique. This can be found on YouTube, but basically involves wetting patches of the car, sprinkling salt on, respraying, and then using a toothbrush to work the salt off. This leaves a rather nice patina look, but since the undercoat wasn't as rusty as I would like the effect wasn't as good as I had hoped. I should also add here that given the paint was glossy, applying water was problematic. The water pooled into little balls, curse you surface tension, and didn't work in the way I had imagined it might. What I did in the end was respray with a matt varnish, and then applied salt, pressing down on the clumps to force them to spread out. This worked better.


With some seasoning...

And sprayed again with grey.
All that remained was to brush the salt off. I should add that leaving a car for a few days with the salt attached causes the stuff to stick really well. With the cars I'm working on at the moment I had to use a blade to chisel the salty goodness off.

I masked one of the doors when undercoating this to keep the original Hot Wheels paint showing. Also, the patina effect looks more like massive corrosion, but shiny.
Following this I painted on any of the other required colours and then gave the cars a heavy black wash. I went back over again with the colours used in the base coat, and added some spots of brown wash to give a rust effect. Lastly I used a little Tamiya weathering kit I've had sitting around for years to add more rust, and some soot near the missile pod.

This stuff is great. You apply it with a little make-up thing, and it looks awesome. It does leave a powdery finish, which didn't go well under the top coat of varnish, but still, I really like this stuff.
So, all that done, my first two cars were complete and ready to take the field. I have a bunch of others to do next, but the first two are ready to roll!


Overall I am happy with the results. They didn't take too much time, and I think they look suitable. I have some more lined up to do next, and I'm looking forward to seeing how they come out!